


ThermIQ-MQTT/ROOM2 Installation
A complete step-by-step instruction to both sw and hw installation can be found here. Below is a couple of tips how to connect ThermIQ-MQTT and ThermIQ-Room2 to the heatpump.
- First step to install ThermIQ-MQTT and ThermIQ-Room2 in your heatpump is to turn off the main switch and open the front to locate the main control-board.
- The main control-board is often located on the front behind a black plastic cover. On the top left side of the board you will find a connector labeled EXT to which you should connect the ThermIQ-MQTT/Room2.
- Attach an USB cable and an USB Power adaptor able to deliver around 2A to ThermIQ-MQTT/Room2. Make sure the power adaptor is a reliable brand as it will be on continously. Use the USB-C connector on the ThermIQ-room2 board if present, otherwise the USB micro.
- Put on front cover and turn on the main switch.
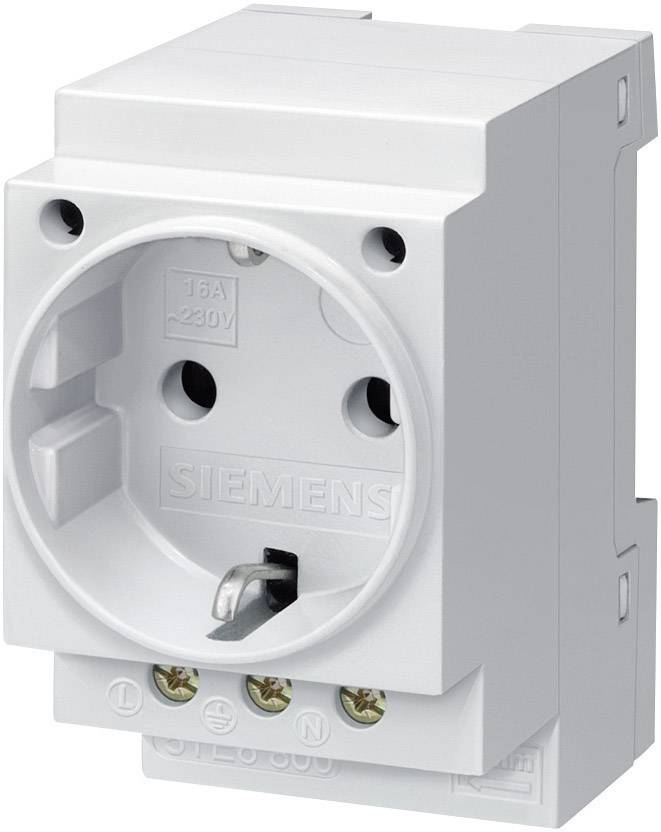
One neat way to power the ThermIQ-MQTT/Room2 is to put a power outlet or a switched power supply on the DIN rail in the heatpump.